Generating Local Certificates with mkcert/Vite
Note: This article was translated from Chinese to English by Claude AI (Anthropic).
I recently developed a webpage with QR code scanning functionality, but the scanning feature requires camera access, which browsers only allow in HTTPS environments for security reasons. Therefore, to debug these features locally, we need to configure HTTPS for the local development server. The core solution to this problem is generating local certificates and self-signing them. While there are many methods available online, I’ll introduce two approaches here that you can follow along with - they should be sufficient for basic development needs.
mkcert
mkcert is a simplified local CA tool for generating valid local HTTPS certificates. Here are the steps to use mkcert and configure certificates:
1. Installation
If you’re using macOS and have homebrew installed, you can install it this way:
brew instal mkcert
brew install nss # This step is needed if you have Firefox installed, otherwise you'll get an error
If you’re using Windows, you can click here to view installation steps.
2. Install Local CA
mkcert -install3. Create Certificate for localhost
mkcert localhost 127.0.0.1 ::1After successful creation, the Terminal will display the certificate location and expiration date:
The certificate is at "./localhost+2.pem" and the key at "./localhost+2-key.pem" ✅

It will expire on 25 March 2026 🗓
4. Store Certificates in Your Project
Create a new folder in your project directory to manage certificates.
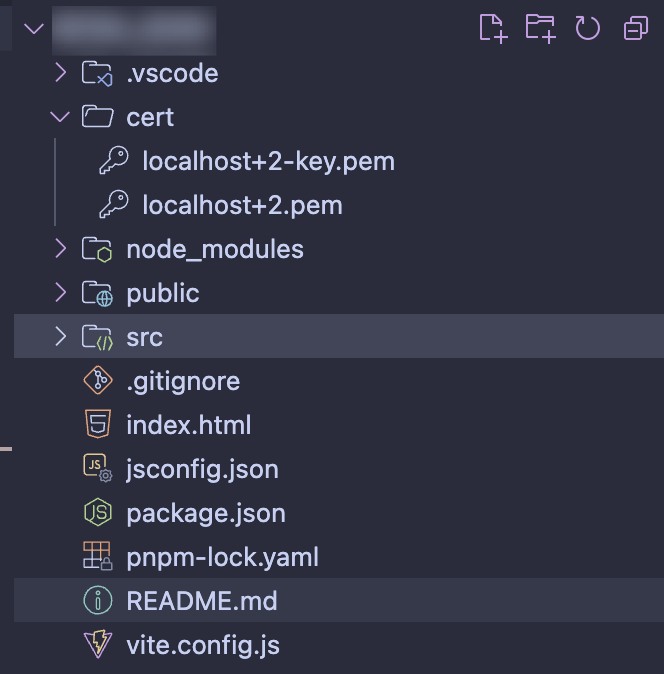
For example, I created a cert folder in my project directory and moved the generated localhost+2.pem and localhost+2-key.pem into it.

5. Configure vite to Use HTTPS
My project stack is vue3 + vite, so I’m configuring the vite.config.js file. If you’re using other build tools (like vue-cli + webpack), the configuration method is similar - just refer to the official documentation for appropriate adjustments.
Note: Remember to restart the service after modifying the configuration.
// vite.config.js
import fs from 'fs';
import path from 'path';

export default defineConfig({
  // ...
  server: {
    // ...
    https: {
      key: fs.readFileSync(path.resolve(__dirname, 'cert/localhost+2-key.pem')),
      cert: fs.readFileSync(path.resolve(__dirname, 'cert/localhost+2.pem')),
    },
  },
})
Built-in Options for Vue / React
Both React and Vue come with built-in options for enabling HTTPS, making it even simpler to use HTTPS protocol locally.
Taking vite as an example again, the official documentation mentions that if you need valid certificates, you can use their plugin @vitejs/plugin-basic-ssl, which automatically creates and caches a self-signed certificate.
1. Install Plugin @vitejs/plugin-basic-ssl:
pnpm add @vitejs/plugin-basic/ssl -D2. Configure vite
After configuring vite, you can run it directly. Note that browsers might show security warnings because our self-signed certificates aren’t issued by a trusted certificate authority, but this won’t affect development use - just don’t use it in production environments.
// vite.config.js
export default defineConfig({
  // ...
  plugins: [
    // ...
    basicSsl(),
  ],
  server: {
    // ...
    https: true,
  },
})